DIY Toys For Young Toddlers {Easy Make-Your-Own Toys}
Have you ever needed to give your little one something to entertain them whilst in the kitchen trying to prepare some food for the both of you?
Or whilst in the bedroom while you’re trying to get yourself dressed and into a semi-normal state just in case someone knocks at the door?
Yes, this is me everyday!
Here are a few ideas of household items that can be used to create toys.
Babies always seem to want to play with items lying around which don’t belong to them so this is perfect to keep them busy.
{Kitchen Utensils / Band Practise}
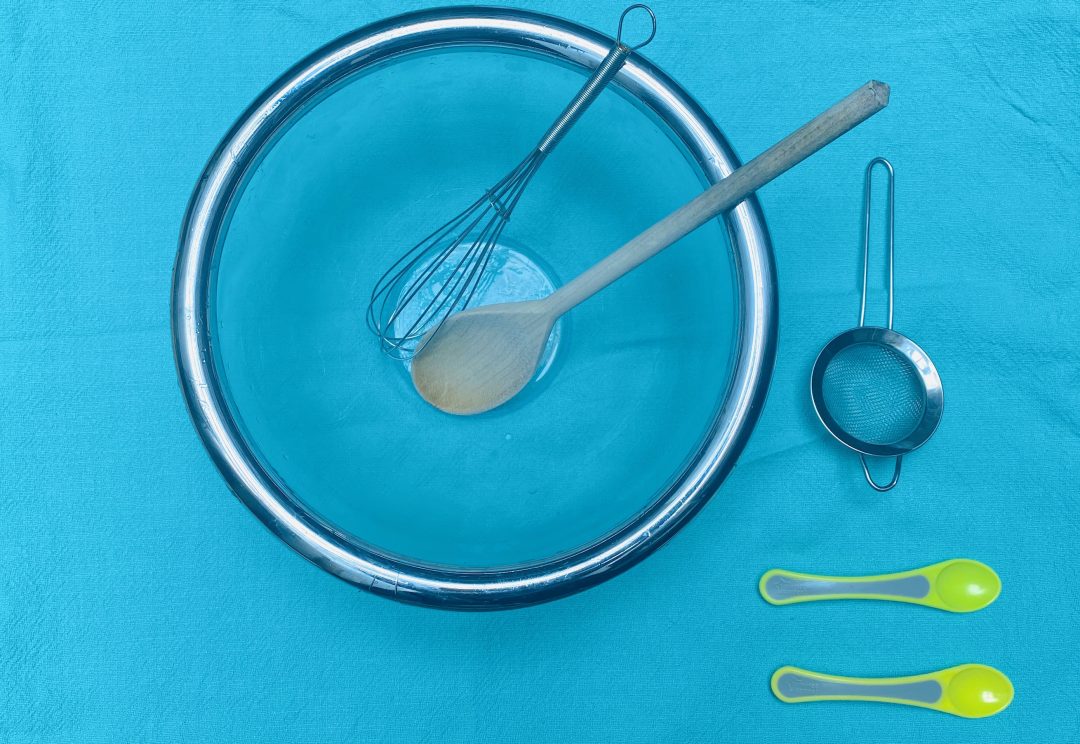
When we are in the kitchen I usually give my daughter a big plastic bowl along with a giant wooden spoon, and some metal kitchen utensils (of course those without any danger) so she can bang and make as much noise as possible on the bowl.
This is really good because our little ones can hear the different sounds that each item makes against the plastic.
Let’s not forget that without a doubt these utensils then go in their mouths just to check if they are tasty enough to eat.
I sometimes also add an ice cube to the bowl which she is fascinated with as it slowly melts in her hands and she can feel the cold sensation.
If you are even braver, feel free to fill the bowl with water and bubbles.
BE WARNED: you and the little explorer may finish off looking like you’ve stepped straight out of the shower and your kitchen looking like a war zone but it’s all in the name of fun!
{“Bits And Pieces” Sensory box}
Do you have a storage box or shoe box in the house that is ready to go in the bin?
Don’t throw it away, it can be a fantastic homemade sensory box!
It is super easy to make and can be done in a matter of seconds.
It creates lots of entertainment putting different items inside from around the house (try and make the items as varied as possible.).
The little one loves to pull everything out.
If you are really lucky that day, you will have an assistant to put everything back inside for you to save on the tidying.
There’s nothing like starting early with the household chores!
Here’s a picture below of one of our sensory boxes which changes daily depending where we are in the house and what items are easiest to grab.

In this sensory box I added aluminium foil, tissue paper, a bell, a toothbrush, a ball, a cupcake mould, a measuring spoon, a mini rolling pin and a slipper- lots of different colours and textures!
If you wanted to purchase a few items to make a sensory box you could try adding:
- 1. Rattle
- 2. Ribbons
- 3. Black and white cards (if for younger babies) or themed cards
- 4. Light-up/ textured ball
{The Never Ending “Tissue” Box}
I don’t know about you but my little monkey love love loves pulling out all her wet wipes when she can get her hands on them.
How many times have you run out the room for a split second and come back to a floor full of wipes?
This never-ending “tissue” box will solve all of your problems and keep your toddlers’ hands occupied.
They may even be wondering why mummy is now allowing them to pull the tissues out.
To make this you will need:
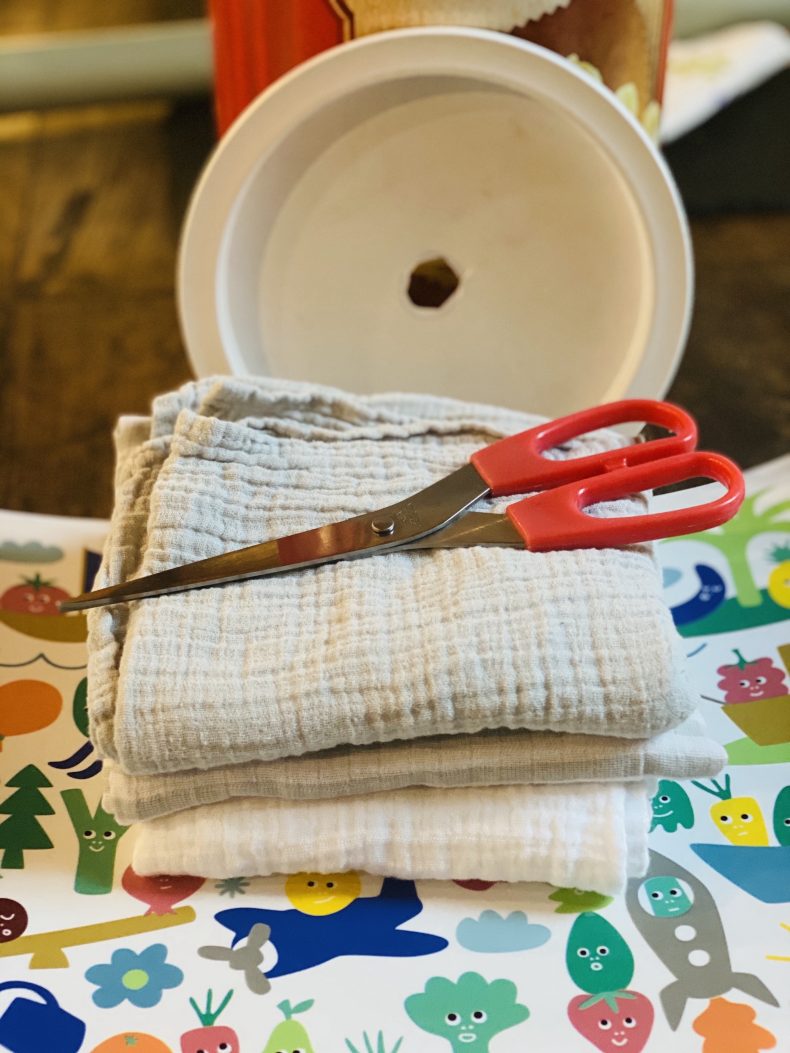
- A box (as big or small as you have to hand) with a removable lid
- Old / used muslin cloths
- A pair of scissors
- Decoration for box if wanted (not necessary)
Instructions:

- Cut a hole in the lid of the box. Just big enough to allow a knotted muslin cloth to fit through. Start off small and make larger if needed.
- Grab as many muslin cloths as desired and cut them in half. I have used 3 (6 halves) and found that to be enough.

- Roll each cloth so it is long and thin ready to be joined together with one another.
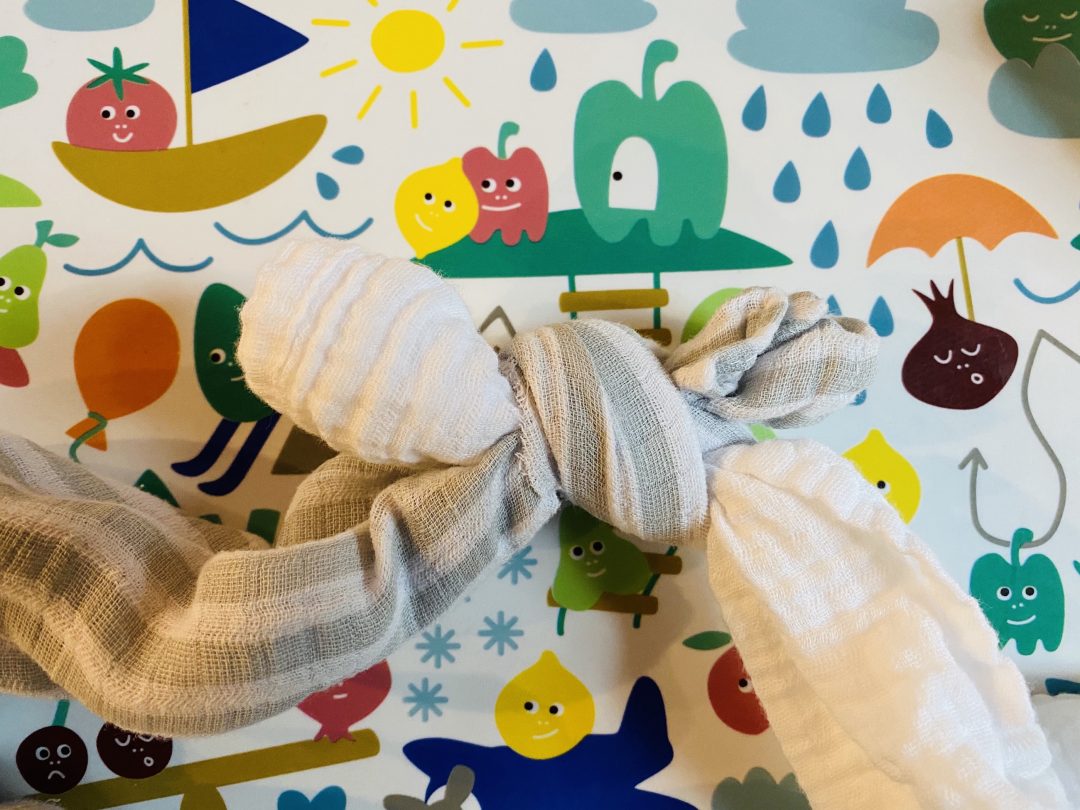
- Tie each piece of cloth to another piece with a knot.
- Continue doing this to give a long snake-like result using all the muslin halves you want to use.

- Tie a double knot at one end of the cloth trail so it can’t fit through the hole in the lid.

- Place the clothes inside the box and feed one end through the hole.
- Close the lid and let the fun begin!
- If desired, decorate the box with paints/ glitter/ pom-poms…Mummy’s this is your time to have fun with your creativity too! I have simply covered the box with some wrapping paper which I had lying around the house.
Remember that our little one’s attention span isn’t so long at this young age so don’t stress about perfection when making some homemade creations.
You don’t want to spend so much time making a masterpiece when it may only be used for a short amount each time.
Why don’t you try making home-made Playdough For 1 Year Olds by following the simple instructions which will lead to lots of entertainment for mummy and the little one.
Do you mummy’s have any fun, creative toys which you have made for your little munchkins that you would like to share with us?


