Paper Roll & Rice Apple Tree
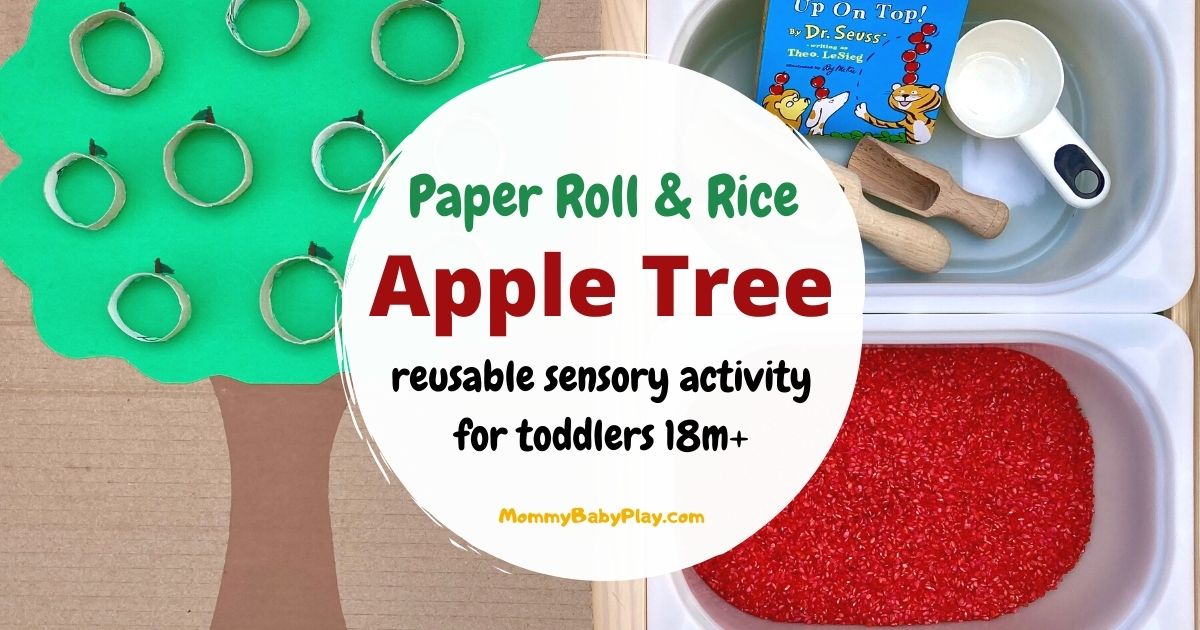
Fall activities woudn’t be complete without apples.
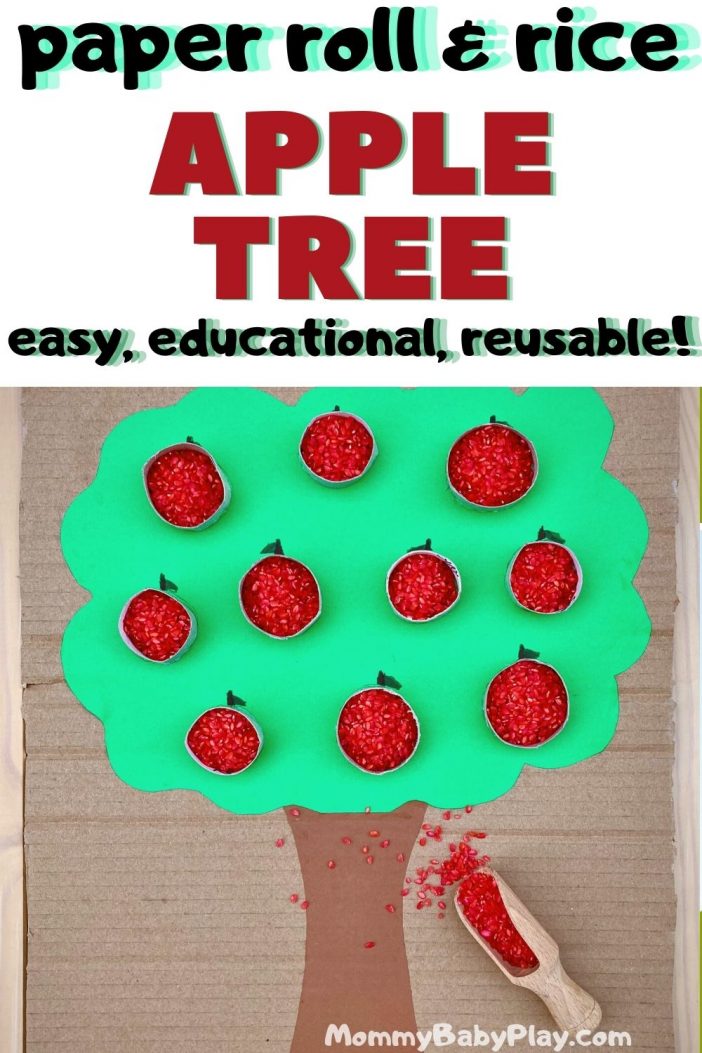
This toilet paper roll Apple Tree is super easy to make and you can use it over and over again.
Your little one will absolutely LOVE the sensory component of this activity – rice.
Which, by the way, you can also use for other activities.
Extend play and learning with one of these awesome Books About Apples.
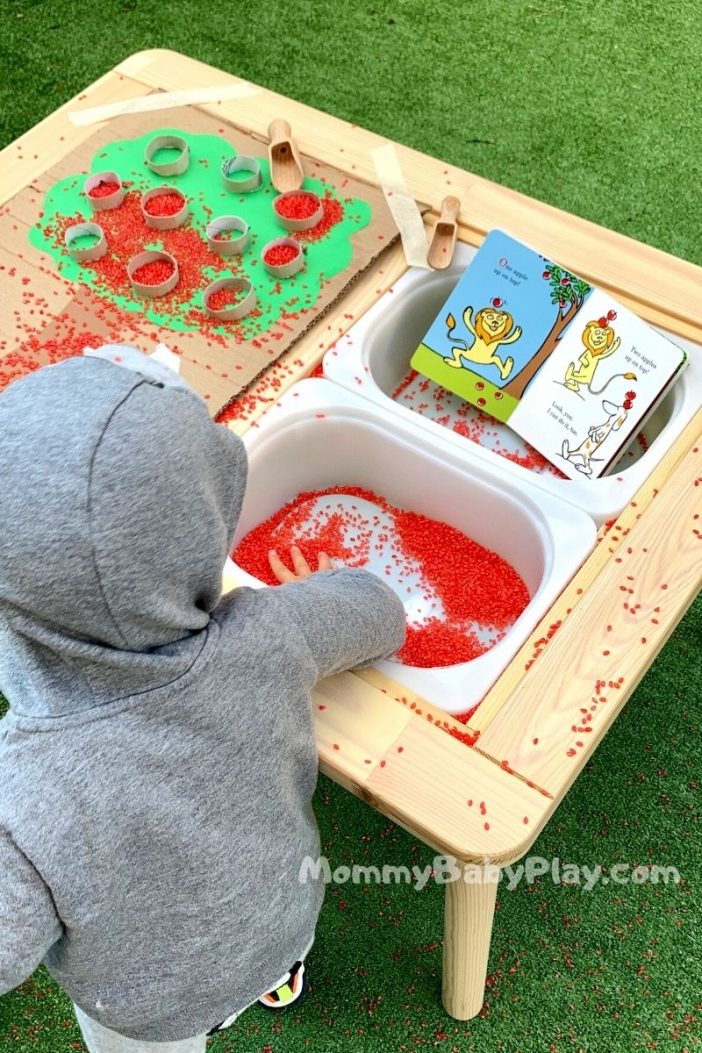
This apple themed activity is perfect for toddlers as young as 18 months old.
They might not completely get the idea – of perfectly filling the apples with rice but I guarantee, they’ll have a blast playing with it.
Make sure to read my 2 extra tips to possible make it mess-free!
So here it goes.
Paper Roll & Rice Apple Tree

Set Up: 15 min
Use: multiple times
Age: 18 months +
Supplies
- Large rectangular piece of sturdy cardboard
- Green and brown origami paper
- 5-6 toilet paper rolls
- Red colored rice
- Color Markers (brown and green)
- Hot glue
- Scissors
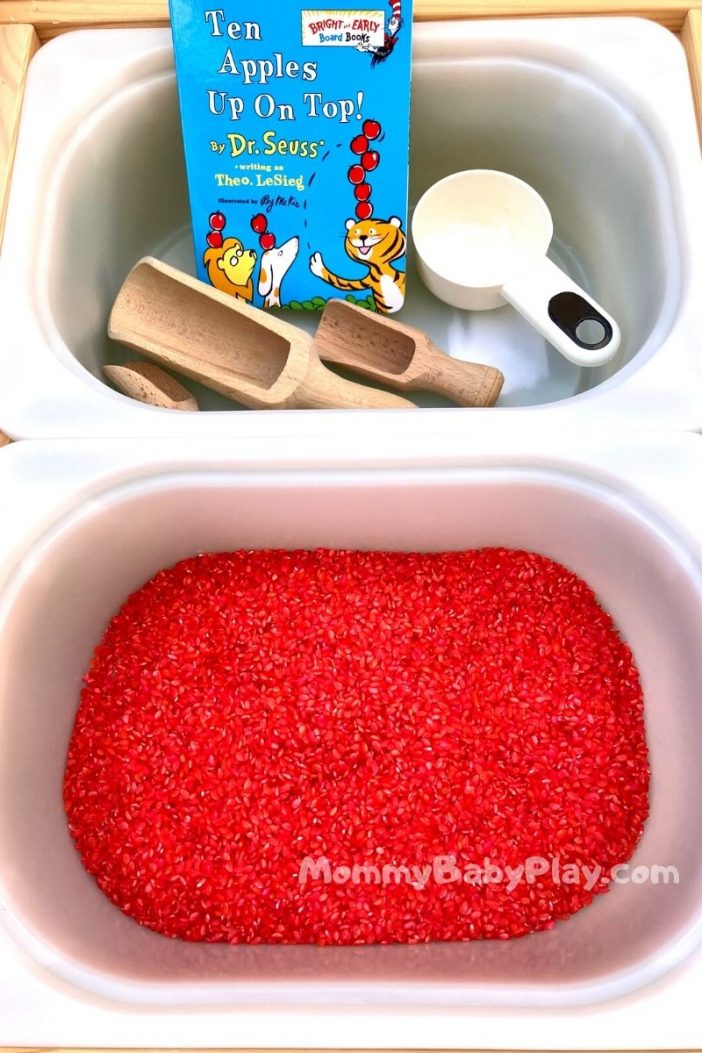
- Scoops – we used these wooden scoops
- Ten Apples Up On Top! By Dr. Seuss
How To Make Paper Roll & Rice Apple Tree
Step 1
Start by cutting out parts of an apple tree from color paper.
Cut out of green paper tree crown, free-form.
Cut out of brown paper tree trunk.
Using craft tacky glue first glue tree trunk to the cardboard, then glue apple tree crown.
Step 2
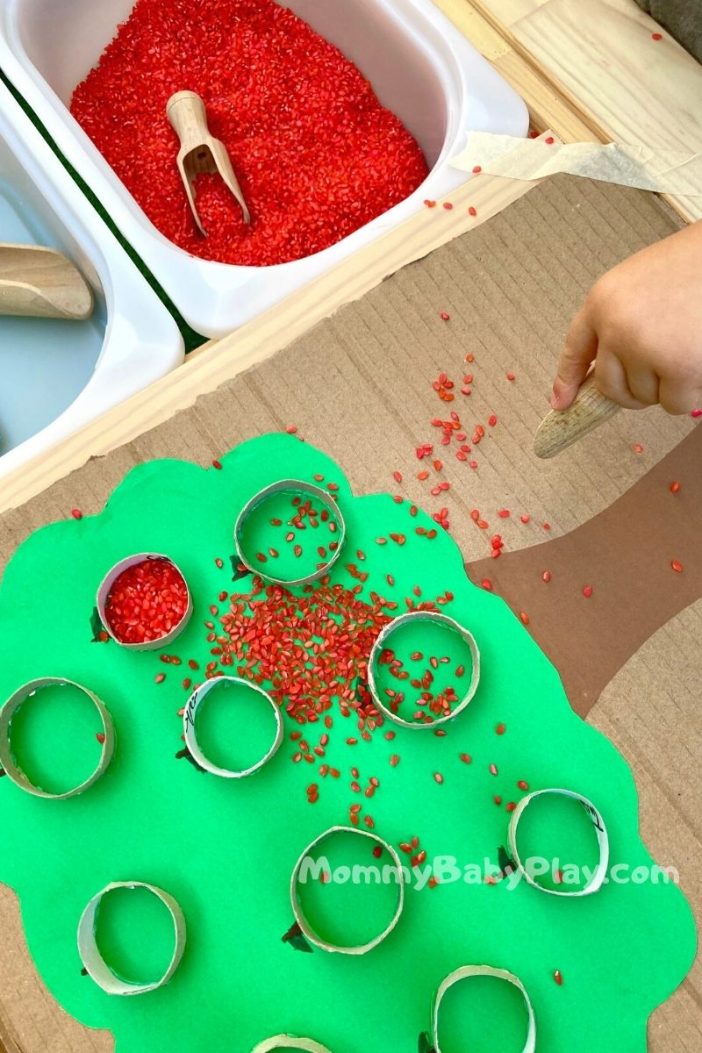
Cut out about ½ – 1 inch stripes from each end of toilet paper rolls.
I matched the number of “apples” on the tree to the book we picked – 10 Apples Up On Top, but you can choose to add more or less apples.
I don’t recommend using the center part of the toilet paper roll since you might not have a perfect straight cut which will make it difficult to glue on the flat surface (apple tree).
Try not to press too hard on the rolls not to damage too much the round shape.
Position toilet paper roll circles – “apples” on the tree crown approximately how you’d like them to look as a final result.
Now, one by one squeeze hot glue on the cut end of each circle and hot glue them to the apples tree.
Once all “apples” are glued to the tree, use brown an green markers to draw stems and leaves at the top of each apple.
Step 3
Color rice to red following this instructions and let dry for a couple of hours or better yet overnight.
I used a mix of red, bright pink and a little bit of orange color.
Once the rice was completely dry I’ve added a teaspoon of cinnamon for delicious fragrance. But this is totally optional (especially if your little one is still mouthing things).
How To Play
We arranged the set up on out flisat table but you don’t have to. Any table your child has works!
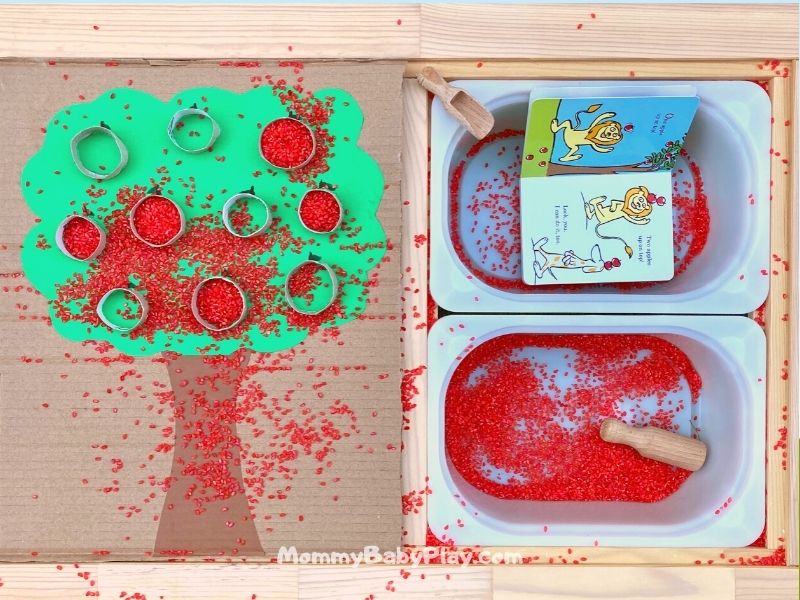
If you’re using an IKEA Flisat table though I have a trick for you 😉
Place the lid onto the back of the cardboard with an apple tree and trace it with a pencil.
Cut out along the trace line.
You should get approx. 14”x17.5” size.
Now it fits perfectly onto the Flisat table section.
I’ve added color rice in one of the smaller containers.
This time around we extended out play with 10 Apples Up On Top by Dr. Suess which I’ve put into another container together with the scoops.
Show your little one how to play.
EXTRA TIPS
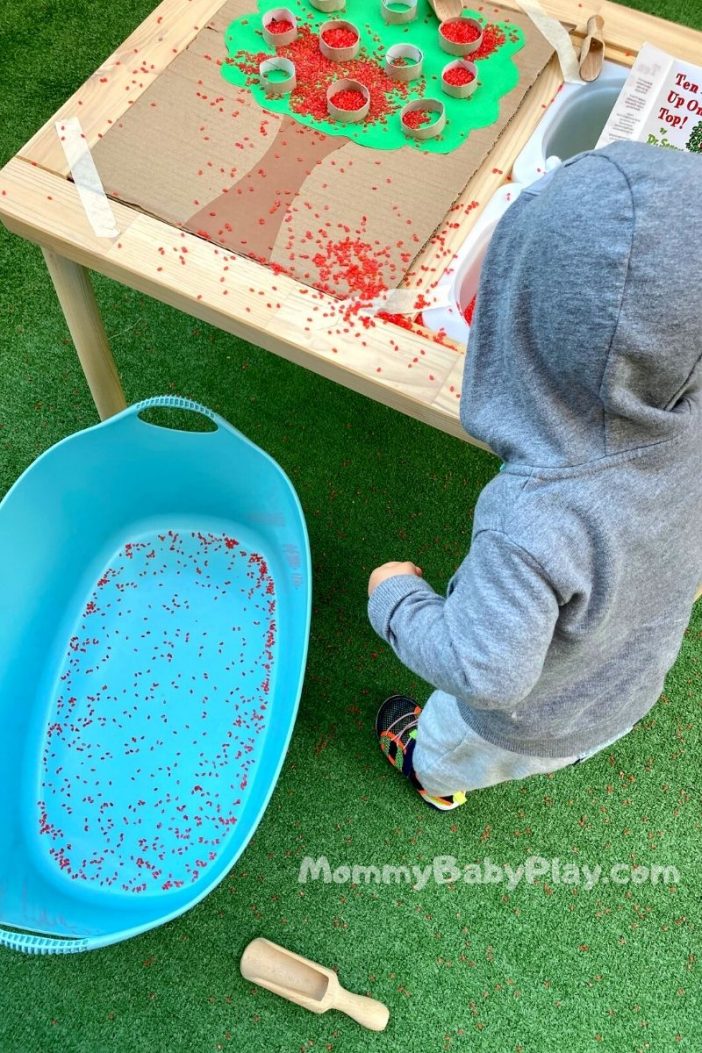
- Remind your little one that “Rice should stay on the tray (on the table)” or “Nothing leaves the table”.
- Put a laundry basket or another plastic container next to the activity set up. Toddlers are not interested in making mess per se, it’s the transferring and pouring activity that fascinates them. So give them an opportunity to transfer (and contain!) rice in a bin. Win-Win on all fronts!
- Now, I’m almost sure no matter how much you try there will be spills. I recently bought this Cordless Handheld Vacuum and I wonder why I hadn’t done it earlier!!? We can do sensory play like this every single day without a second thought. And he even helps me to clean (hint-hint)!
Are you going to try this Rice Apple Sensory Tree? Let us know in the comments below how it went. We’d love to know 🙂
Pin it for later!
Happy Playing!



2 Comments