Pasta Threading {Fine Motor Activity For Toddlers}
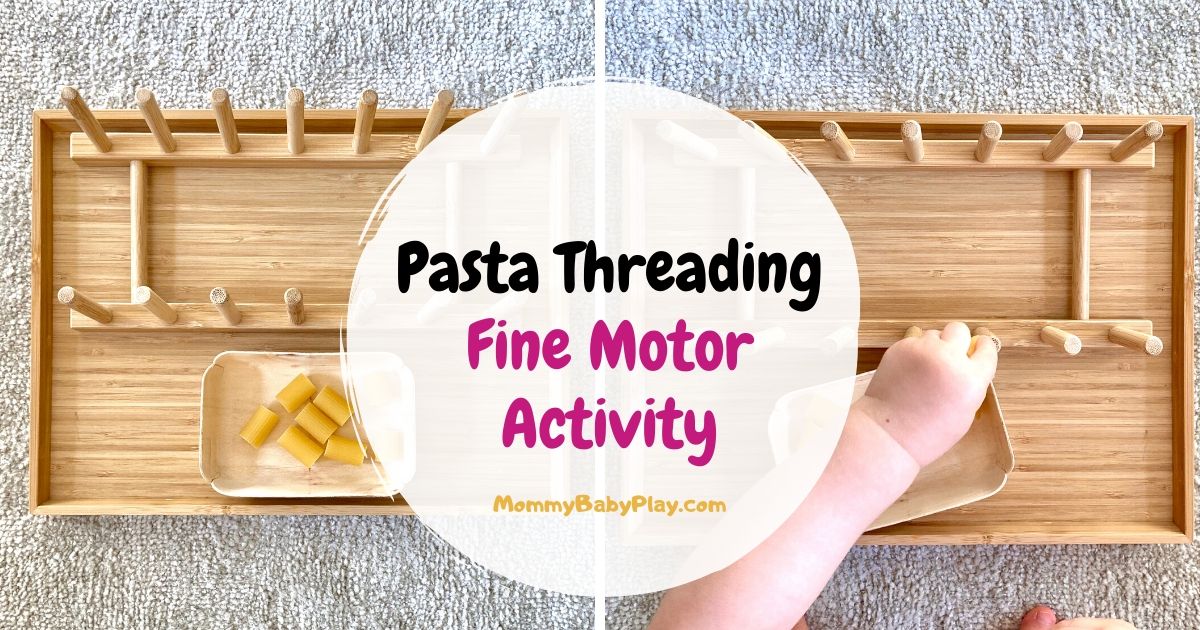
Mr. 14 month old has been really enjoying all kinds of pasta threading and posting activities.
It’s that period of time when they work hard on their pincer grasp, hand-eye coordination, strengthening their hand muscles and practicing concentration.
Those are all important elements for future hand writing and effective learning.
What I also love about this activity is that it can take many different shapes and forms.
Use materials that you have available and variation of this pasta threading activities are almost limitless.
You can also increase the level of difficulty but using different pasta shapes and pasta “holders”.
I’ll show you a couple of examples below to get your imagination flowing.
It’s also an “evergreen” activity that you set up once but your little one will love coming back to it months and months to come.
We first started with pasta posting at about 10.5 months. It was very challenging but also very very satisfying. I could feel a sense of achievement my little one had once he was able to “feed” the bear.
Check out our 12+ Posting Activities For Babies & Toddlers.
At about 12.5 months we tried pasta threading and it was a big hit as well.
Keep in mind that at first (especially when doing with a baby or a very young toddler (a taby how I love to call them) they’ll be able to post/thread just a couple of pasta shapes and then move on to the next activity.
This happens due to their still very short attention span.
As they get older they’ll be able to work on this activity longer and finish the whole set of pasta shapes.
All activities must be done under close adult supervision.
Pasta Threading Activity Using IKEA Plate Holder (or similar plate holder)
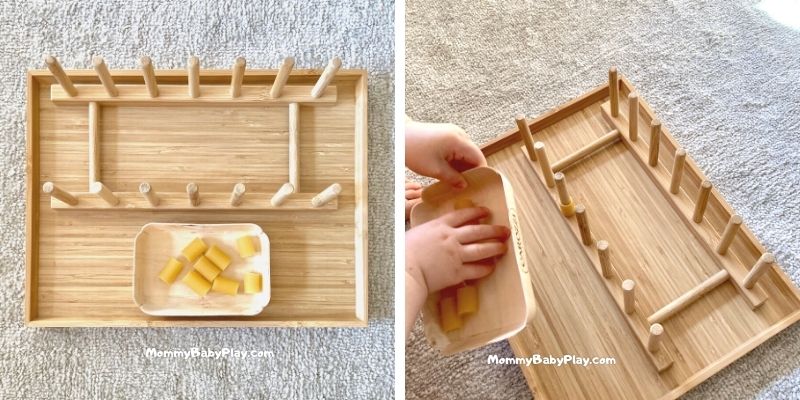
Hands down, our favorite pasta threading activity.
We use IKEA OSTBIT bamboo plate holder but you can use any brand you have available.
What I’d look for is for it to have 7 dowel rods – 7 colors of the rainbow so you can use it in the future for color matching activities and so much more.
Here’s a great bamboo plate rack I’m talking about from Amazon.
I also love that it’s a one piece gear and that’s very sturdy and stable which really helps concentrate just on the threading activity itself and not worry about him destroying the whole set up even before starting.
Set Up
- Plate Rack with dowel rods
- Pasta with large holes (mezze maniche or rigatoni)
All you need for the set up is a plate rack and pasta with a large holes.
We use mezze maniche pasta which is also great served as food 🙂
You can also use rigatoni pasta (a large type of pasta with a hole)
Make sure all pasta fits onto the dowels before introducing this activity to your little one to avoid any frustration.
Pasta Threading Activity Using IKEA GRUNDVATTNET Colander (or similar)
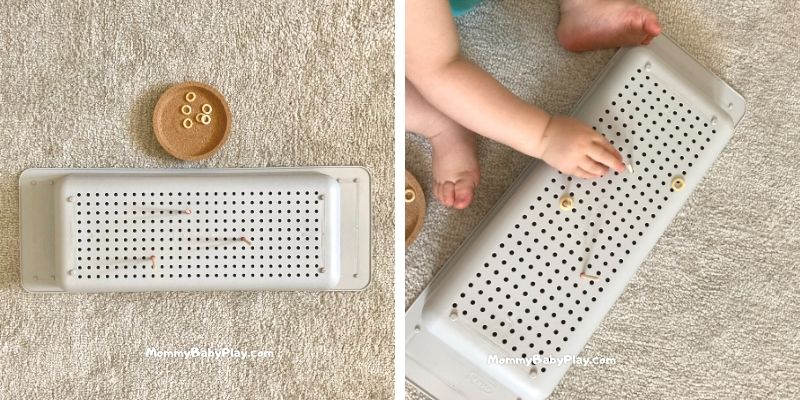
Another favorite non-toy from IKEA is this simple 5.99 colander.
What I love about it is that it has a stable base when turned upside down and perfect, all of the same size holes.
We use it for both pasta posting, pasta threading, water play and what not.
Set Up
- Kitchen Colander
- Wood Skewers (sharp tip cut off). As an alternative you can use bucatini pasta but it’s more fragile and can break easier.
- Tape
- Pasta (mezze maniche, rigatoni, anelli – pasta that is used in spaghettios or cereal like cheerios).
Breakfast cereal like cheerios also works great for this activity, which can easily turn into snack time 🙂
NOTE: both anelli pasta and cheerios are of a higher level of complexity. Give it a try with your kiddo and see if it’s appropriate for their age. If it’s too hard for them stick to pasta shapes as mezze maniche or rigatoni and safe small shapes for later.
Once you have all the elements ready insert 3-4 skewers into the holes in the colander. Make a point on each skewer where it meets the colander.
Apply a thick-ish layer of tape right below your mark on the skewer.
We are doing this to prevent your little one from pulling the skewer out of the colander.
This happens a lot with tabies.
Place skewers again in the colander and cut off the excess height leaving just about 1” – 1.5” out.
This will add stability of the skewers hence make it easier to work on the threading activity itself.
Pasta Threading Activity Using Playdough and Straws
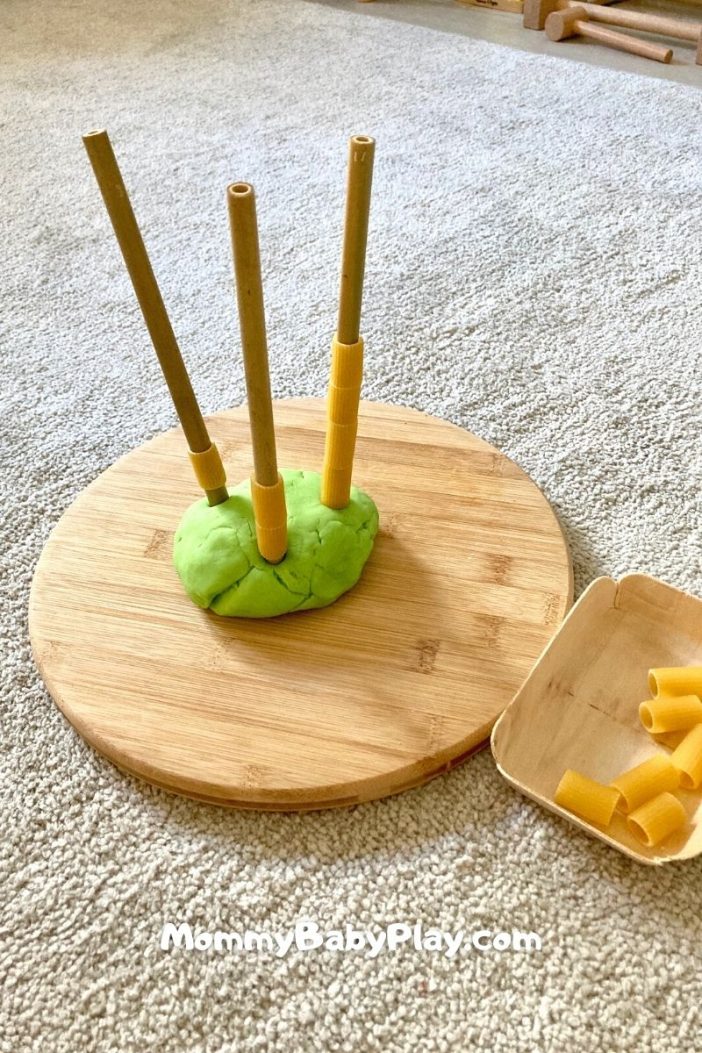
This is a great set up that I first saw on the lovely Laughing Kids Learn.
I find it best suits older toddlers simply because with young ones all the straws are pulled out of the playdough before activity starts LOL.
But it’s a fun and certainly easy one to set up.
Set Up
- Playdough
- Straws (plastic or bamboo)
You can also use thick type of pasta such as bucatini pasta (I prefer bucatini to spaghetti since they’re thicker and more sturdy but you can definitely use regular spaghetti that you have on hand). - Mezze maniche, rigatoni pasta or cheerios.
Simply poke a couple of straws into a thick piece of playdough and let your little one thread pasta (or cheerios!) on the straws.
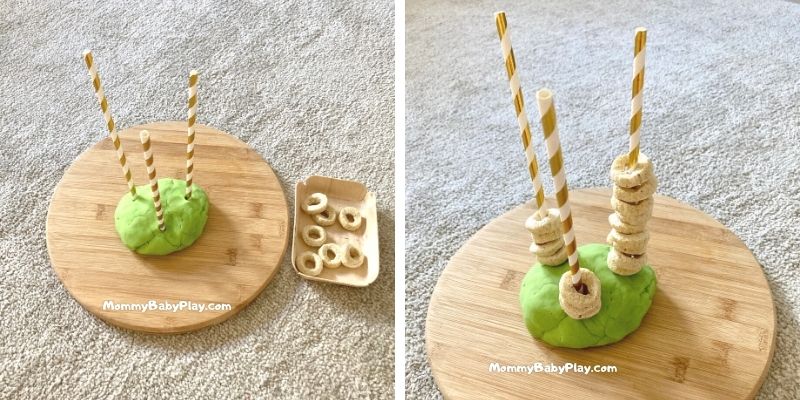
With older kids you can also challenge them to build a higher “tower”.
Isn’t it amazing how something so simple can be so much fun?
Pasta Threading Mix Of The Above
Using materials from previous set-ups you can also create variations of the above.
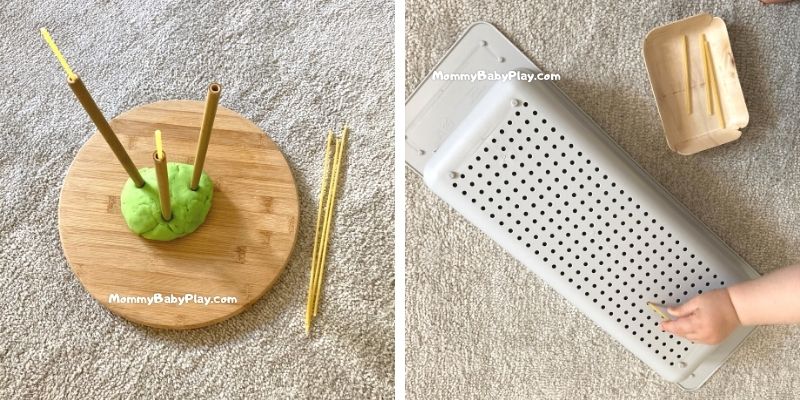
For example posting spaghetti in the straw holes (image on the left) or posting spaghetti in the colander holes (image on the right).
Both of these are more of a posting activity but it does magic to those little finger and their fine motor development.
I also love how all these threading and posting activities align perfectly with Montessori.
As a step further, use a wooden tray to present each of the activities.
Make sure you introduce your little one to the activity first showing how it should be performed. No need to use words, just model it for them and give them a turn.



3 Comments